Train Smart. Start Here.
Good training doesn’t start with the exercise. It starts with knowing what you’re looking at.
This page gives you the foundations: how to read your dog’s posture, six basic exercises, and a simple plan to start with.

Read the posture first
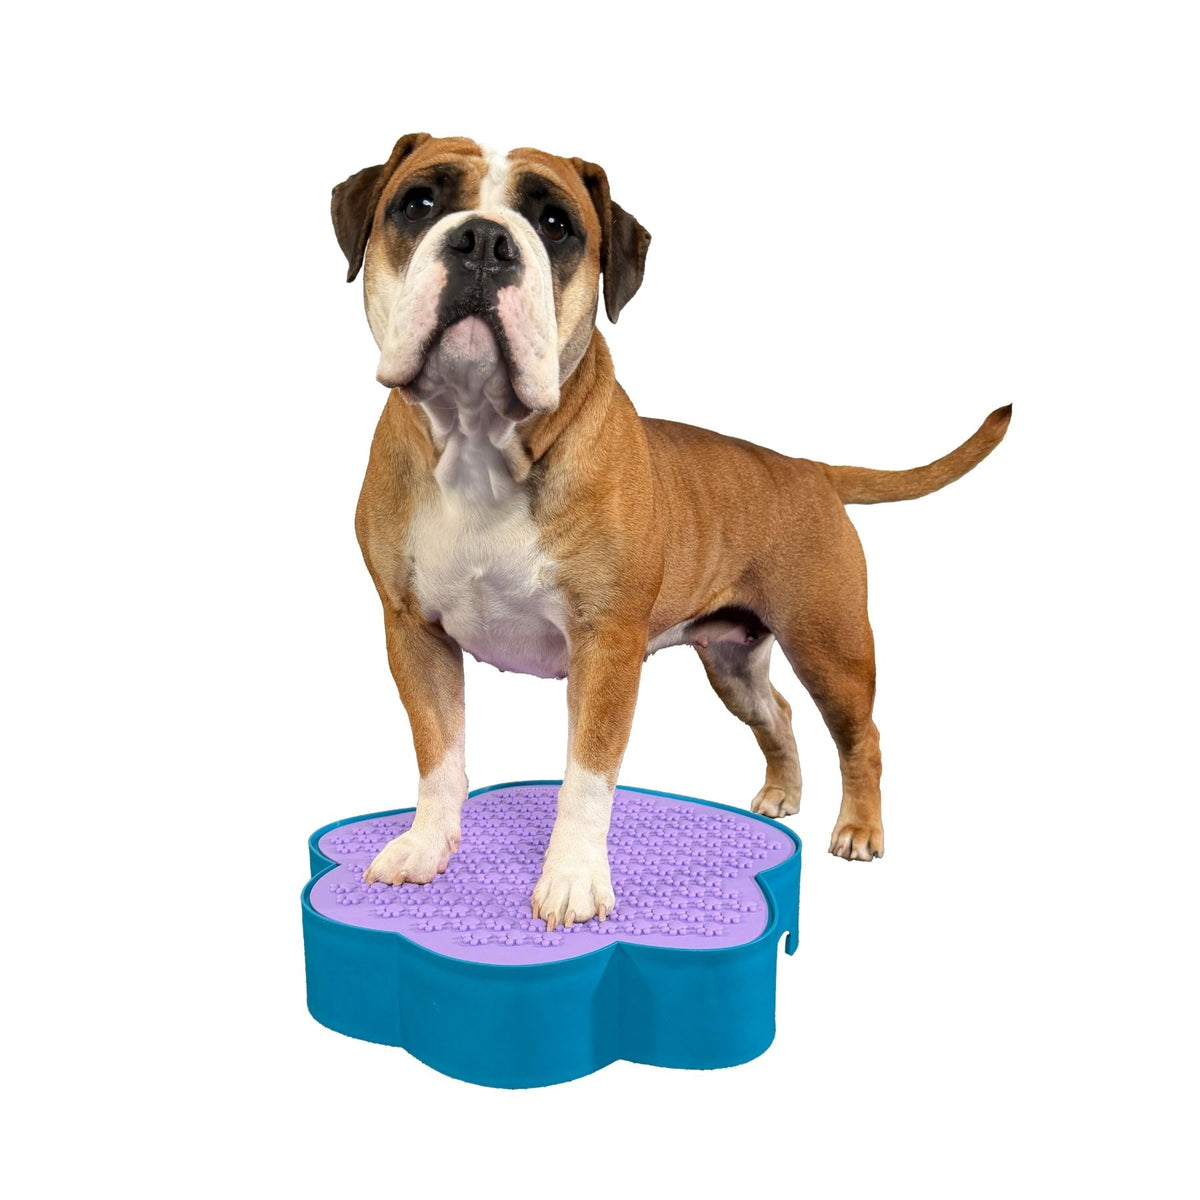
Before you add any exercise, learn what a good stand looks like on your dog:
- All four legs under the body, not stretched out in front or tucked under
- Weight evenly distributed, with no leg unloaded or shifted to one side
- Paws pointing forward, front paws roughly parallel
- Topline level and relaxed, with no roach or dip in the back
- Head in a neutral position, not pulled down or craned up
Posture isn’t decoration. It’s information. If your dog can’t hold a balanced stand on the ground, the next step isn’t more equipment. It’s more time on the foundation.
Tip: Shoot from the side and the front, at your dog’s shoulder height. Anything higher distorts the posture.

Before you start
- Always train on a non-slip surface.
- Warm up first.
- Keep sessions short and stop while your dog is still working well.
- Puppies, senior dogs and dogs with a medical history: talk to your vet or canine physiotherapist before starting.
Stop or take a step back if you see:
- loss of form: the stand collapses, paws shift, the back roaches
- trembling that doesn’t settle
- your dog disengages: sniffing, looking away, offering other behaviours
- your dog repeatedly avoids the exercise or steps off
Your dog’s age matters, but so do condition, health and experience. A fit 10-year-old can do more than an untrained 6-year-old. When in doubt, ask your vet, your canine physiotherapist, or us.
Puppies & senior dogs
Young and older dogs can benefit from training too, but they need a different approach. Their bodies are either still developing or already changing, and both mean the same thing: less is more.
We highly recommend an introduction by a trainer before you start with a puppy or a senior dog.
Puppies
- Focus on the basics. Calm positions, body awareness, getting on and off equipment with confidence.
- Keep sessions short. Stop while your puppy is still focused and enjoying it.
- Low and stable equipment only. No heights, and no reactive surfaces yet, except briefly for the experience.
- No repetitive position changes on equipment. Skip exercises like Transitions until your dog is older.
- Quality over everything. A puppy that learns clean positions now has a better foundation later than one that learns many exercises.
Senior dogs
- Check with your vet first, especially if your dog has a known condition or stiffness.
- Keep sessions shorter and plan more rest between exercises and sessions.
- Warm up thoroughly. Older dogs often need a little longer to get moving.
- Start stable and low. Getting onto equipment safely is already training.
- Watch for fatigue. Trembling, a sinking back or a reluctance to continue means it’s time to stop, not push through.

Basic exercises
The equipment listed here is a selection for beginners.
Most of these basic exercises can be done with any piece of Flexiness® equipment.
Check the product descriptions for sizing and level guidance.

Front Up
- Goal: shift weight to the hindquarters and hold the position with control
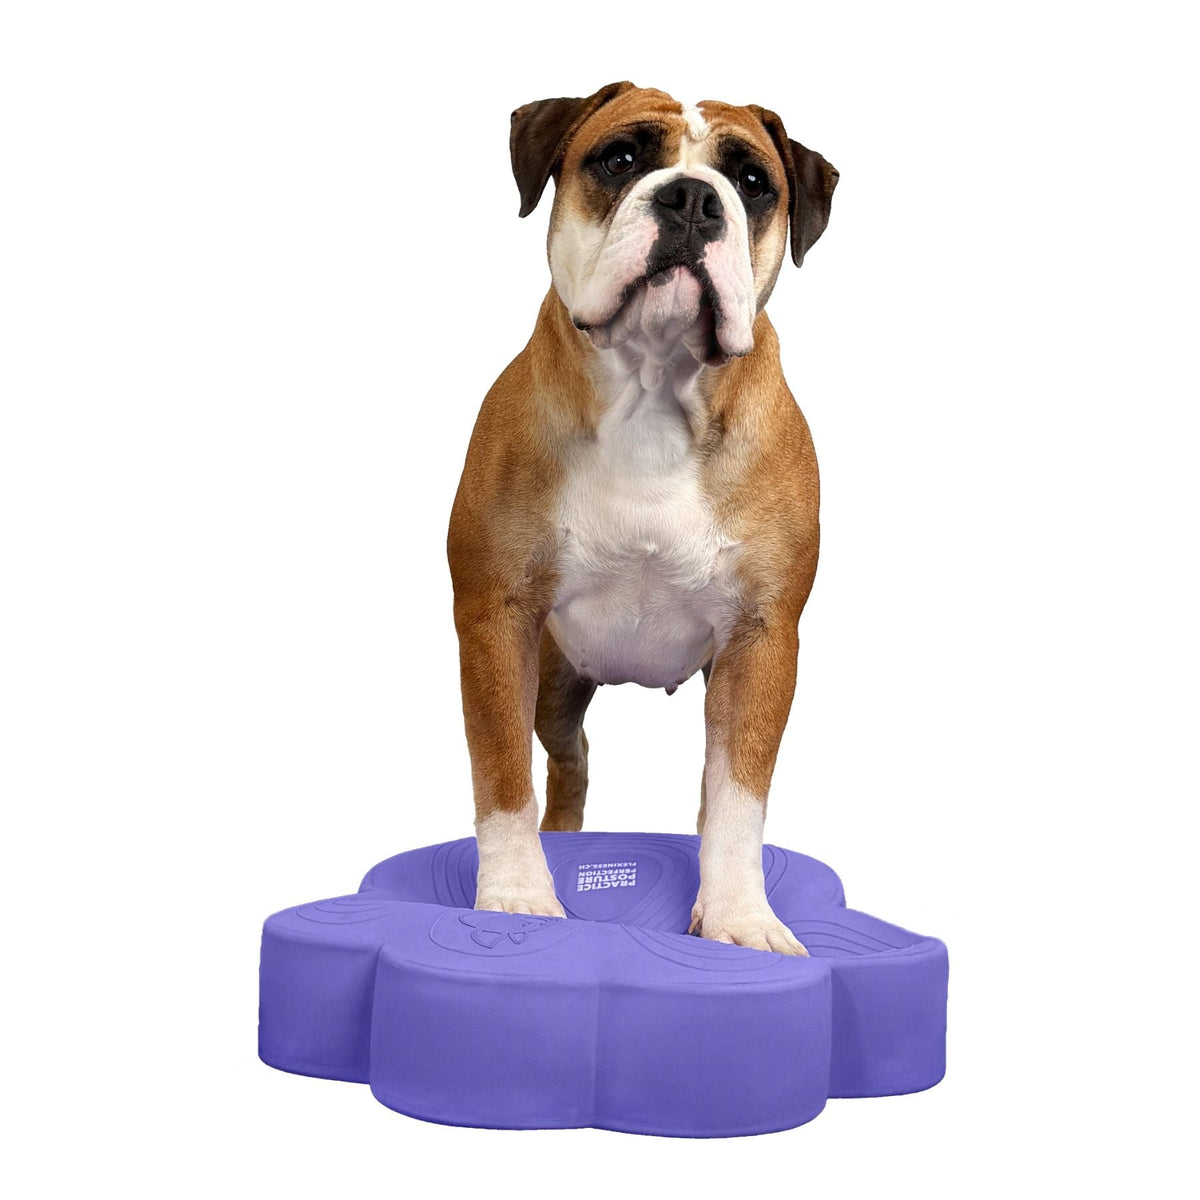
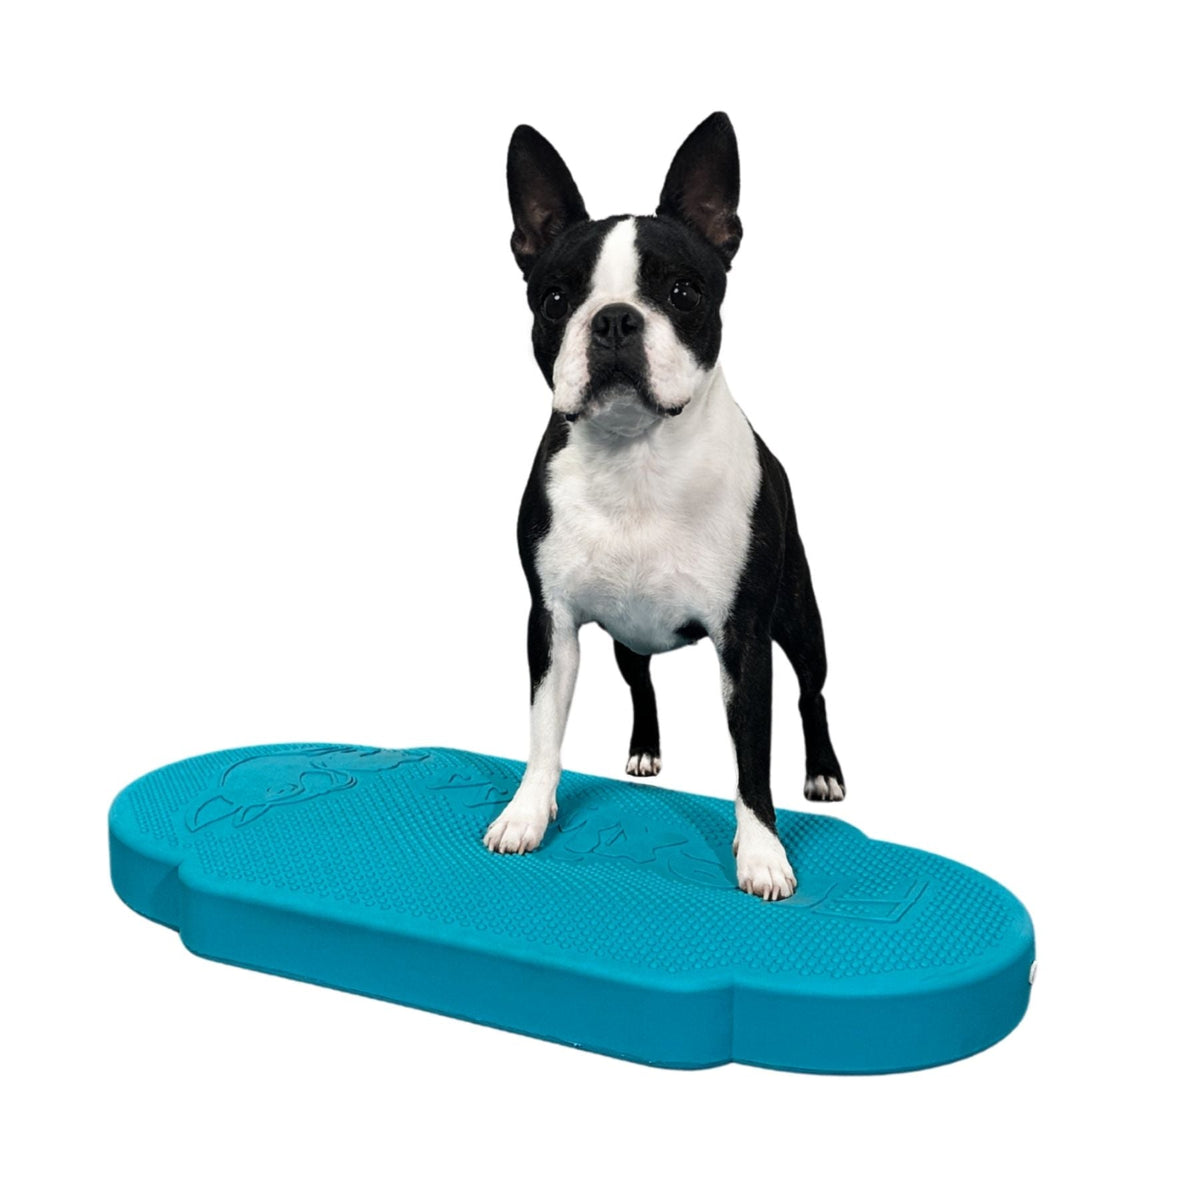
- Equipment: SensiMat, FlexBlox, TwinDisc
- How: Front paws on the platform, hind legs on the ground, under the body.
- Watch for: hind legs drifting back, a dipping back
- Progress: longer holds → slight height increase → reactive surface for the front paws

4 Up On 1
- Goal: body awareness and a balanced stand on a defined surface
- Equipment: FlexBlox
- How: Guide your dog onto the platform with all four paws and build a calm, square stand.
- Watch for: paws on the edge, weight shifted to one side
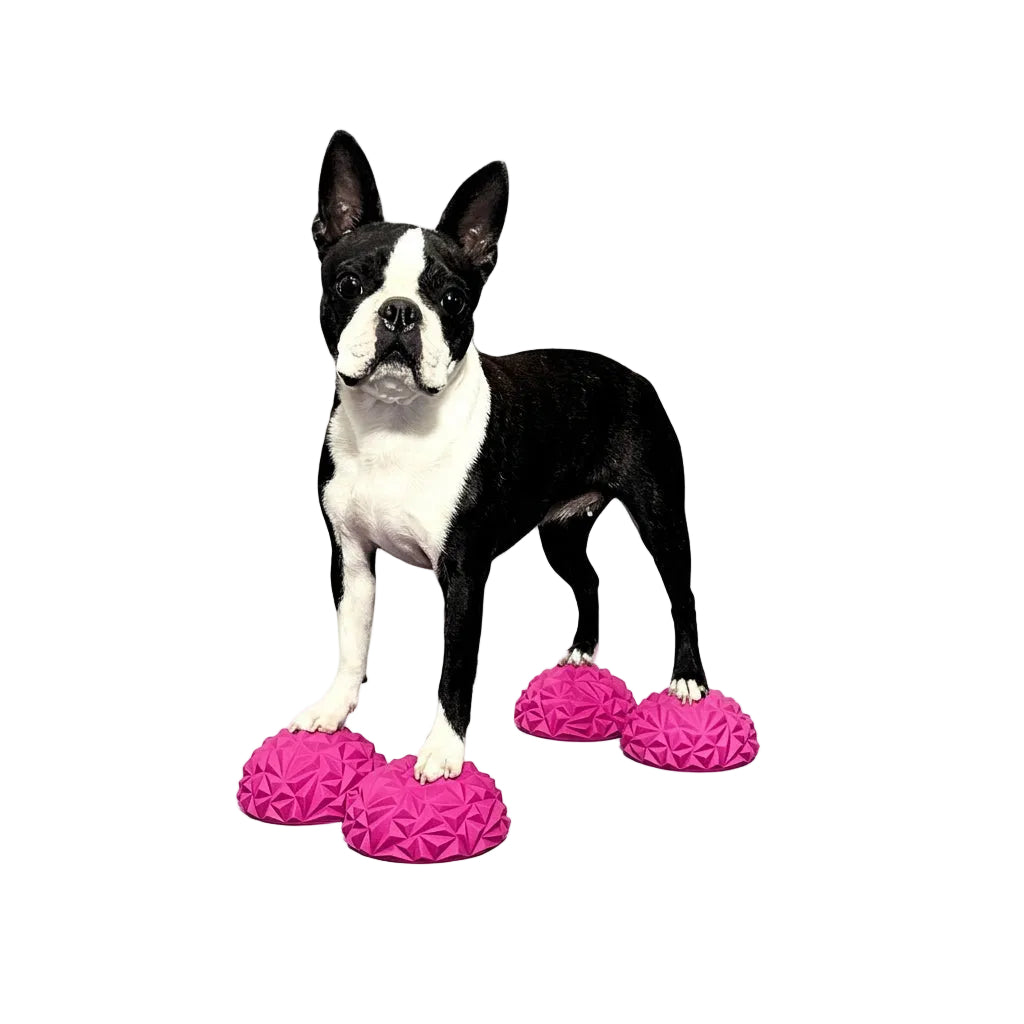
- Progress: longer holds → smaller surface → reactive surface

4 Up On 2
- Goal: precise foot placement, even weight distribution and spatial awareness between two reference points
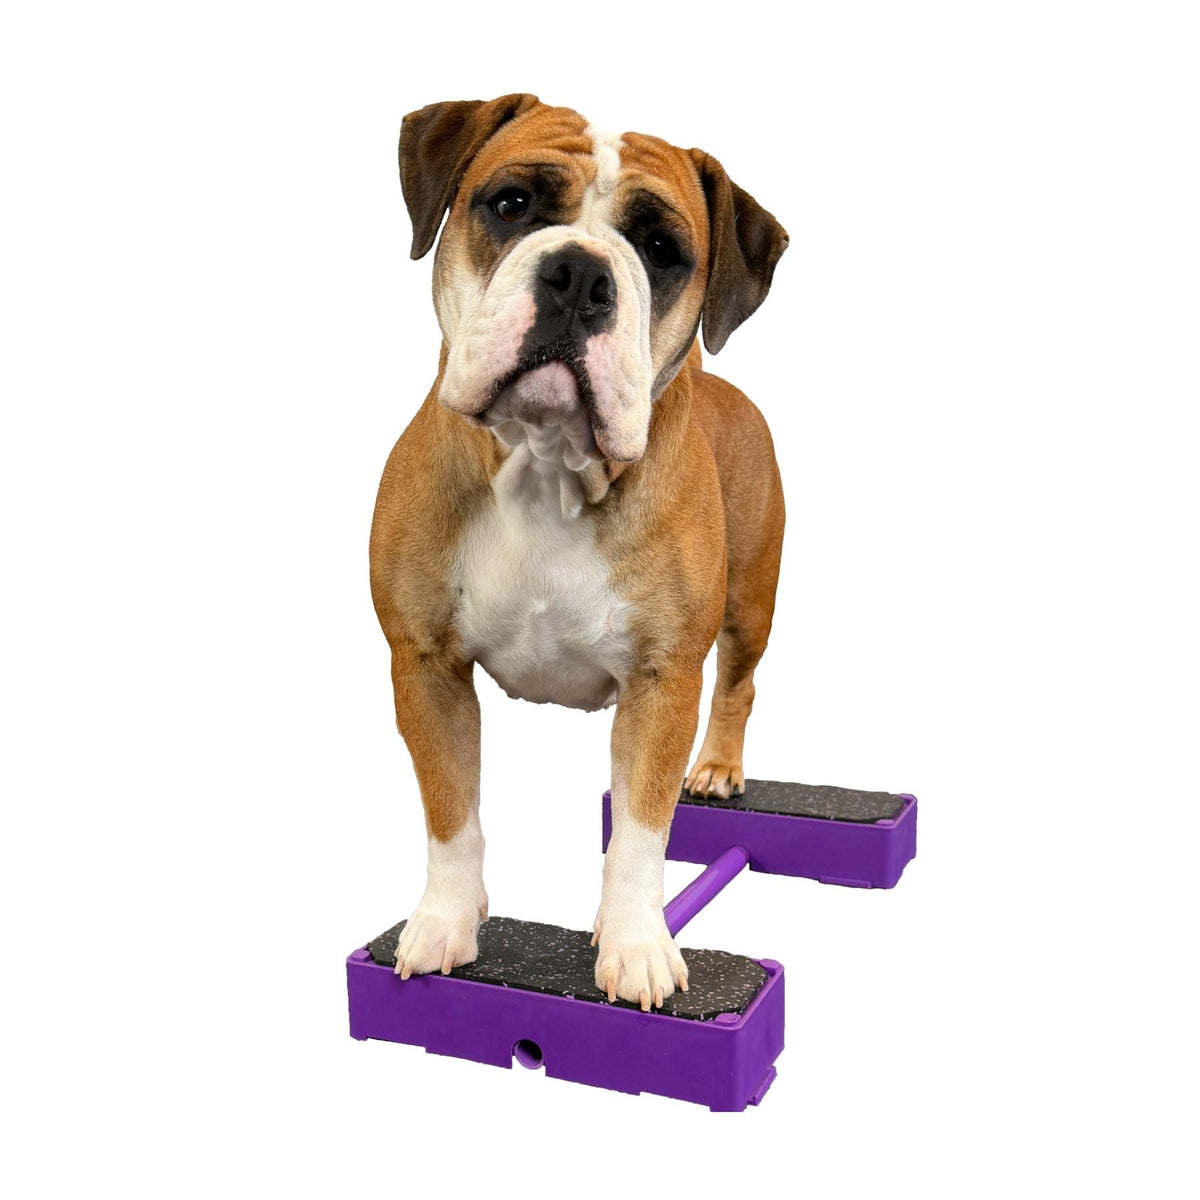
- Equipment: two FlexBlox of the same height
- How: Place the two platforms one behind the other. Your dog steps up with the front paws on one and the hind paws on the other, then settles into a calm, square stand.
- Watch for: stepping up with momentum, paws on the edge, weight shifted forward or back, a dipping or roaching back
- Progress: longer holds → approaching from different angles → Transitions

Weight Shifting
- Goal: control over where the body weight goes, without moving the paws: balance, postural stability and body awareness
- Equipment: SensiMat, FlexBlox, TwinDisc
- How: Front paws and hind paws at the same height in a square stand. Use your hand to guide small, slow weight shifts centre to the left and centre to the right, while the paws stay still.
- Watch for: paws moving, exaggerated shifts, the back dipping or roaching
- Progress: whole body → head only → front and rear at different heights

Transitions
- Goal: smooth, controlled weight shifts between front and hind end
- Equipment: FlexBlox, TwinDisc, StackingBar, FlexBloxBar
- How: Start with your dog’s front paws on the platform. Your dog walks forward until its hind paws are on the platform, then walks back to the starting position. Hold each position briefly or move smoothly.
- Watch for: rushing, paws slipping off the edge
- Progress: add Back Up

Back Up
- Goal: rear-end awareness and active use of the hind legs
- Equipment: SensiMat, FlexBloxWedge
- How: Your dog walks backwards in a straight line, a few steps at a time.
- Watch for: crooked lines, rushing, a lowered head
- Progress: more steps → between guides → backing onto a low platform
Featured products


Your starting plan
Frequency: 2–3 sessions per week, with a rest day between them
Session length: 10–15 minutes including warm-up and cool-down
Repetitions: quality over quantity, for example 3–5 repetitions per exercise, holds of 5–10 seconds to start
Session structure:
- Warm-up: 2–3 minutes of easy trotting, then figure 8s and sit-to-stands
- Activation: a few repetitions of 4 Up On 1
- Main part: 2–4 exercises, alternating front and rear focus
- Cool-down: 3–5 minutes of relaxed walking
4-week start:
- Weeks 1–2: stable equipment only. Build clean positions and calm holds.
- Weeks 3–4: extend holds and repetitions. Add a reactive surface only once your dog holds the position with control.
Control before complexity. If the form drops, go back a step. That isn’t a setback. It’s training.
These are general guidelines for healthy adult dogs. Every dog is individual. Age, condition, sport and training history all change what’s right.
4-week plan to download
Get a starting plan as a PDF: exercises, session structure, and a training log to track your dog’s progress week by week.
Common mistakes and how to avoid them
Adding instability too early
A reactive surface only makes sense once your dog can hold the position with control on stable ground. Without that control, your dog compensates instead of training what you want to train.
Sessions that are too long
A tired dog loses form, and training with poor form repeats the wrong pattern. Ten good minutes are worth more than thirty sloppy ones.
Training through loss of form
When paws shift, the back sinks or your dog rushes, that’s the signal to stop or go back a step. Pushing through is not training harder, it’s training something else.
Too many exercises at once
Two or three exercises done well beat six done quickly. Your dog needs time to understand each position.
Skipping the warm-up
Cold muscles and joints aren’t ready to work. Warm up before every session: 2–3 minutes of easy trotting, then figure 8s and sit-to-stands. It’s not optional.
Handling that changes the posture
Where you hold your hand or treat shapes your dog’s position. Too high and the back dips, too low and your dog leans forward. Keep your hand at a neutral height and let your dog find the position itself.
Need help?
Not sure which equipment fits your dog, or how to teach an exercise? Write to us at contact@flexiness.shop. Send a short video of your dog if you can. It helps us give you a more useful answer.
For more in-depth support, book a private online lesson: Get in touch